It’s November, which signals the start of nutcracker portraits for first graders. We begin by discussing the holidays and decorations, and I bring nutcrackers from home as well as display a variety of nutcrackers in a PowerPoint presentation. We define the word portrait, and I introduce students to Mona Lisa.
To draw the nutcrackers, we begin with the line between the hat and the head, as detailed in this step-by-step tutorial that inspired the idea. However, I changed a few details, based on my observations of nutcrackers.
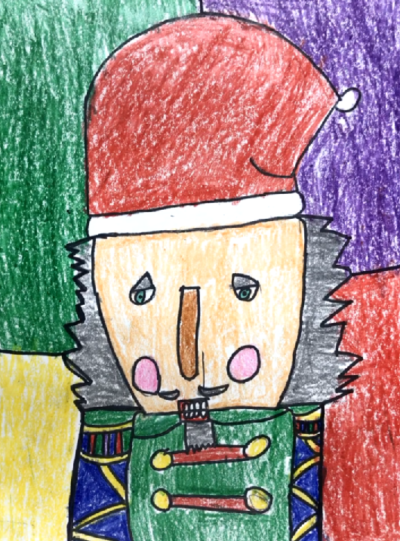
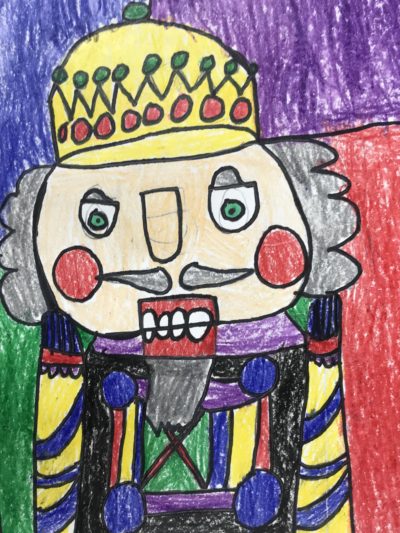
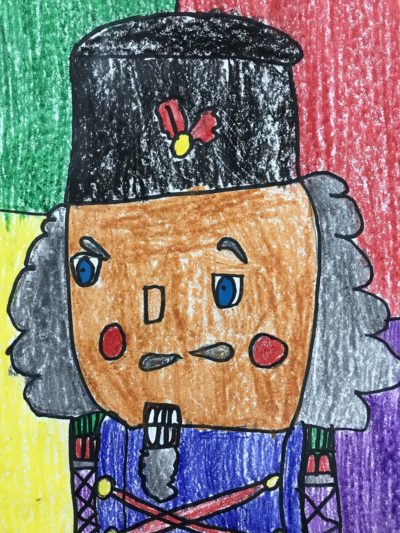
I give students four choices of hats: Santa, crown, “Russian,” or “police.” (I don’t have any student examples of the police hat. Think British bobby with a chain.)

Once they have drawn the nose in the center, they make eyes that are straight across the top and (in theory) line up with the top of the nose. This matches the design of the nutcrackers I bring to class.

Before students start crayoning, we discuss colors associated with Christmas, and (confession time…) I stack the crayon tubs with multicultural face colors and traditional Christmas colors. (Sorry, orange and pink.) I demonstrate coloring one way (“back and forth” or “up and down”) in a closed section. Then I generally wander the room chanting, “One direction, one direction, thick and waxy, thick and waxy.”
Once the nutcracker is colored, students divide the background into four uneven sections, and we discuss how to choose colors that “highlight not hide” the nutcracker. The last step is outlining. As you can tell from the pictures, one year we outlined in Sharpie and another, in crayon. I am leaning toward the crayon for this year’s suite of nutcrackers.
I pop the finished 11×14 products into frames for our annual Christmas program, and they add personality to the art exhibit.

